
Posted on December 29, 2011
Segunda Hackintosh: proyecto "FrankenMac"

Últimamente he estado ponderando la idea de cambiar mi PC. Aunque en casa tenemos mayoría de Macs, todavía es necesario tener maquinas Windows, principalmente por trabajo, y sobre todo para correr aplicaciones que solo existen para este sistema operativo.
Desde hace tiempo tengo una “torre” Dell con un Pentium 4, bastante anticuada, con un par de discos duros internos corriendo XP y Windows 7 respectivamente.
Con los años se ha vuelto mas y mas lenta, aunque casi no la uso y tengo pocos programas instalados, he pensado que ya va a ser momento de sustituirla.
Después del éxito qu tuve creando la Hackintosh laptop, he decidido hacerme un “monstruo” que tenga la capacidad de una G5, a una fracción del costo y con capacidad de correr otros sistemas operativos. Con todo lo que he analizado y leído, he decidido armarla poco a poco (no hay prisa) y comprando las piezas cuando tenga dinero o encuentre buenas ofertas.
El objetivo es armar una computadora Intel i7 Intel i5 en la “caja” de una G5, con tarjeta de vídeo capaz de soportar dos monitores – hoy en día casi todas lo hacen – un par de discos duros (uno por sistema operativo) y DVD, aunque este ultimo ya casi no se usa.
Mi objetivo es comprar una G5 usada, de preferencia descompuesta, y limpiarla, prepararla y adaptarla a mi gusto. Lo principal es que quiero conservar al máximo la apariencia de la caja, los puertos traseros y delanteros a la medida de lo posible. Esto quiere decir adaptar las entradas de la tarjeta madre a las de la caja. En algunos sitios adaptan la tarjeta cortando un hueco, pero yo quiero conservar la caja entera, por lo que tendré que adaptar los conectores con cables, un poco complicado pero mas estético.
Otro problema que pienso enfrentar es la fuente de poder, quisiera usar la misma de la G5, pero por lo que leo hay que usar una comercial de PC.
Al final espero terminar con una “FrankenMac” poderosa, 16GB de memoria, un par de discos duros (SSD particionado en dos para los sistemas operativos, y un TB para las aplicaciones y datos) y todo tipo de conectores: desde USB 3.0 hasta Firewire, aunque sigo pensando que tanto me servirá tener estas ultimas conexiones si en varios años no los he usado.
Lo mas importante es mantener los costos bajos. Si una G5 de ultima generación equivalente cuesta alrededor de los $2,500.00, el costo de mi “FrankenMac” tiene que ser menor de $800.00.
Costo estimado de componentes:
|
|
|
Obviamente lo mas caro es el CPU, en un momento dado puedo bajarle al i5 y ahorrar $100. El precio del SSD esta basado en una oferta, pero con la llegada de los SATA III y los 6G cada vez veo mas de esos precios. Los precios están basados en Amazon, pero en lugares como NewEgg o Fry’s es posible encontrar mejores descuentos, y si no buscando en sitios como Slickdeals o Fatwallet.
Una buena guía para crear una Hackintosh esta en LifeHacker, y como pienso también configurar un arranque múltiple, existe otra guía del mismo sitio.
Bueno, en eso ando por el momento, espero ganar pronto algún remate de G5, hay que andarse con cuidado pues muchas están en muy mal estado, golpeadas y dobladas, o piden demasiado por una computadora de procesador anticuado y lento.
Actualización Diciembre 29:
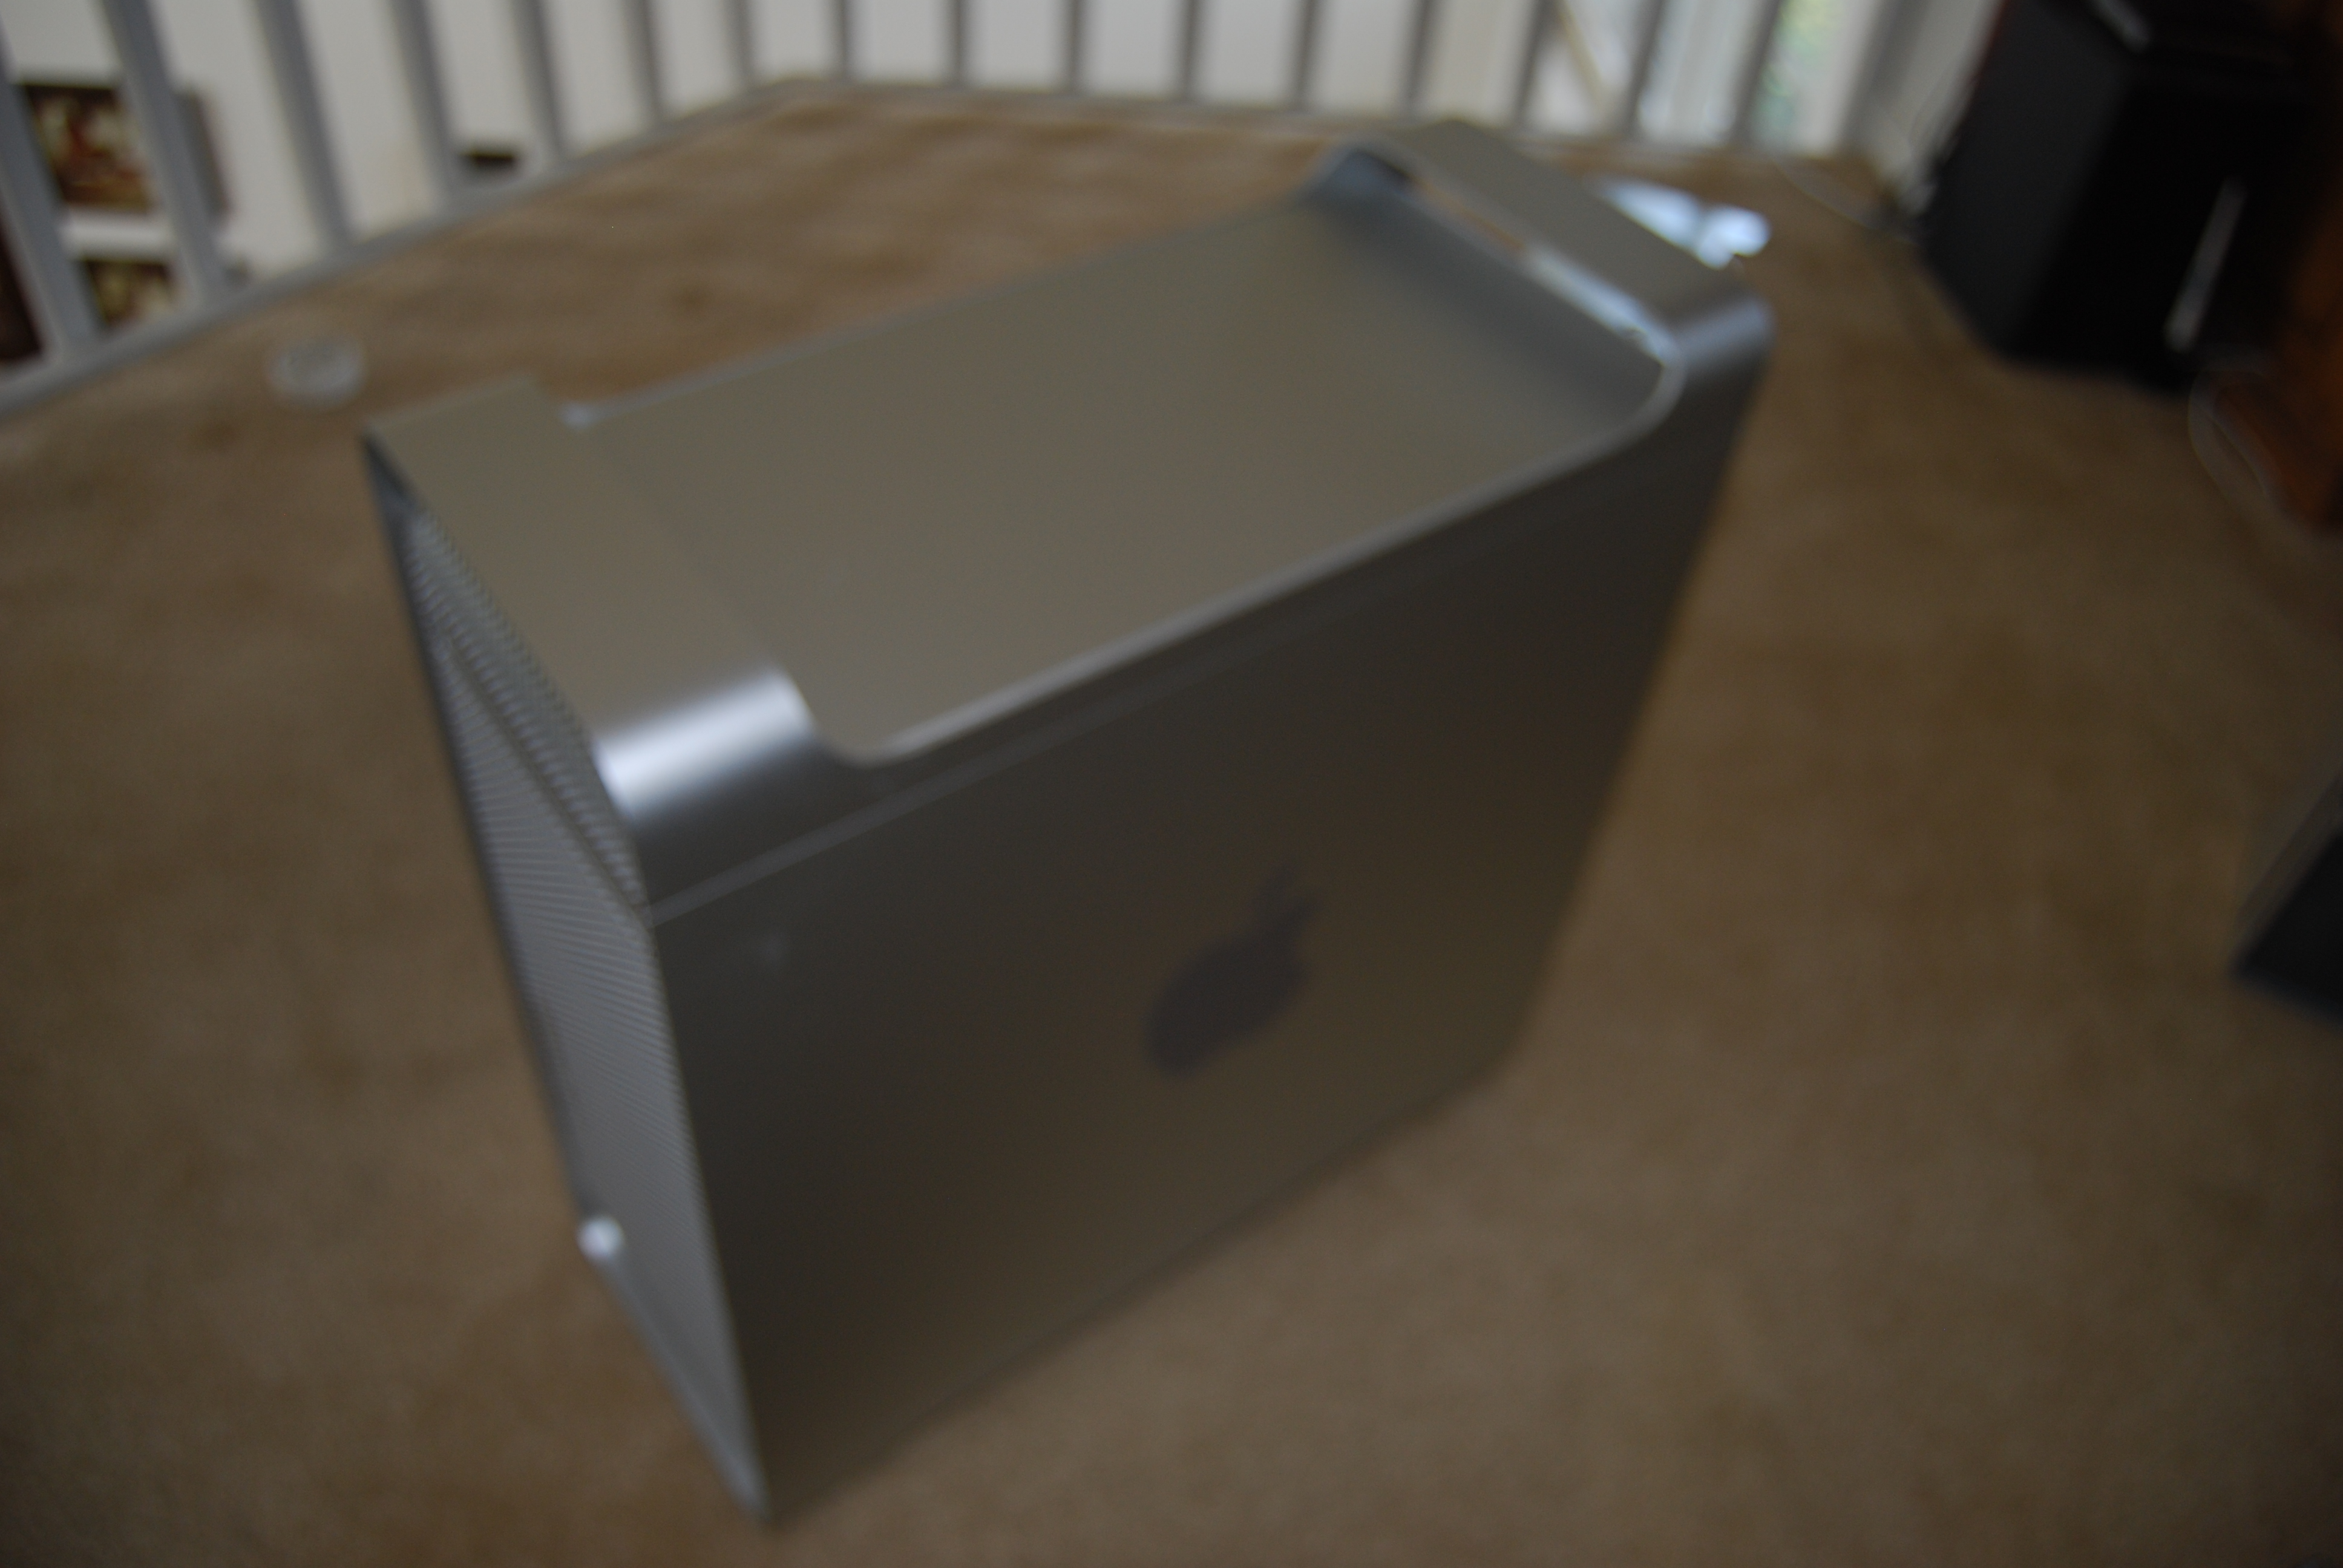
La computadora comprada en eBay me llegó hace 3 dias, me encargué de vaciarla:

Lo primero que hice fué reemplazar la fuente de poder por la nueva, sacando la original ,limpiando y adaptando el espacio, 
la nueva cabe perfectamente, y espero que los dos ventiladores sean suficientes…
El siguiente paso es la tarjeta madre (Motherboard) , como quiero conservar la parte trasera intacta, planeo hacer un poco de “cirugía”:

Siguiente paso: reemplazar los puertos USB, Audio y ethernet por unos que funcionen, realmente el wireless, firewire, y demás no los uso…
El puerto de ethernet lo reemplacé con un conector de pared, después de modificarlo cortándolo para que tuviera la misma altura y anchura que el original, de hecho corté la parte frontalpara pegarla y que se viera idéntico.


Para los puertos USB usé un cable cuádruple interno comprado en CompUSA, el cual corté para moldearlo y que entrara en el sitio correcto:

Para el audio, fue solo cuestión de soldar unos cables directamente (¿podría haber hecho lo mismo para los demás?)

Después de arduo trabajo, ¡todo listo! Instalado en la MacPro.

Acomodando los componentes para armar “la bestia”.

Probando como quedará la tarjeta madre dentro de la caja.

Listo para probar el sistema, sobre todo la fuente de poder. En este punto tengo que asegurarme que todo funciona; una buena idea, pues tuve que abrir la fuente de poder un as tres veces para quitar y poner cables. Uno de mis primeros problemas fue el tener que poner ambos cables de poder, el principal mas el de 12 volts, puesto que con el cable principal solo arrancaba por dos segundos y se desconectaba. Después de mucho probar de casualidad añadí el cable, y funcionó. El manual solo menciona que puede ser requerido, pero no que no arranque sin él.
Otro problema es el botón de arranque, ya que al no tener una base o caja de computadora convencional, el cable con el botón de arranque no está incluido. El problema fue resuelto colocando un desarmador entre los conectores por un segundo.

La prueba fue un éxito, el sistema arranca, hice algunos ajustes al BIOS, siguiendo la guía para crear la hackintosh de lifehacker.
Procedí a crear el usb drive con unibeast y Lion. Después de horas de frustración tratando de resolver un problema de instalación “waiting for the device to mount“. Después de mucho investigar, cambiando cables, discos y buscando en internet, leí que alguien tuvo problemas con ciertas marcas de thumb drives, por lo que cambié el Kingston drive por un Sandisk y ‘voliá’ instaló sin problema.

¡Unos minutos después veía por primera vez Lion en mi “monstruo”!

Actualización Diciembre 31:
Todo funciona perfectamente, tuve un pequeño problema con la red, pero Multibeast” se encargó de añadir el “driver” (o Kext) correcto. Audio, vídeo, monitor, todo funciona correctamente y es reconocido. El sistema me indica los números correctos.

Bueno, después de que todo funciona no queda mas que empezar a armar y poner todo en su lugar. Para acomodar la tarjeta madre compré una tira de Aluminio e hice agujeros que concuerdan con los tornillos originales de la MacPro, sobre este aluminio entonces coloqué los tornillos base que sostendrán la nueva tarjeta. Una vez hecho esto, queda el trabajar en los cables especiales para conectar los ventiladores. Voy a adaptarlos para que se vean lo mas parecido a los originales. La parte mas difícil sera el cable para el botón de arranque, pues no hay muchas tiendas de componentes electrónicos y pedir por correo implica esperar varios días. Tendré que adaptar o buscar conectores entre mis cajas de cables.

Actualización Enero 8:
 He terminado lo importante, solo me falta instalar el DVD que venia de fabrica: la tarjeta madre solo acepta conectores SATA y mi DVD es ATA, por lo que me tuve que tomar la decisión de comprar un nuevo DVD SATA, el cual ya casi no uso, o conseguir un adaptador. Los DVDs nuevos cuestan de $20 a $50 dólares, y el adaptador $19, lo cual se me hizo caro. después de buscar un rato, encontré en eBay adaptadores SATA -> ATA ¡desde $2.50! Compré uno a 4.50 con envío incluido.
Todo este tiempo estuve trabajando en lo que me costó mas trabajo de toda la conversión: el cable de el panel frontal.
El dichoso cable tiene un conector personalizado para el panel frontal, por lo que hay que cortar el cable para modificar. En el internet se pueden encontrar algunas versiones de la configuración y el como hacerlo, solamente hay que buscar “G5 front panel cable”. También hay personas en los foros que venden los cables ya hechos, pero el precio oscila entre los $40 y $50 dólares. Esos cables están muy bien hechos, pero están pensados para tarjetas madre que incluyan firewire, cosa que el mio no tiene, y realmente no me molesta pues hace mucho que no uso la interfase.
Con esto en mente, tomé la decisión de fabricar mi propio cable. después de muchos esfuerzos, conseguí dos cables USB internos (uno para el USB y el otro para el Audio, son iguales) y dos más de tres y dos conectores para el botón de encendido y el LED.
 Basándome en los diagramas de internet y los manuales de mi tarjeta madre hice mi propio dia
grama para el cable. Después de analizarlo un par de veces para evitar errores, un sábado desde temprano comencé la tarea. Después de horas de soldar, pegar y probar con multímetro las conexiones, el cable quedó listo.
Cuando vi el LED del panel frontal encenderse al presionar el botón de encendido, me dio mucha alegría. mi cable fue un éxito.
Ahora solo falta esperar a que llegue el adaptador de SATA para instalar el DVD, y estará listo. decidí no activar mas que un ventilador original, ya que son bastante ruidosos, cosa que me extraña. En cambio le instalé el ventilador grande que venía con la fuente de poder, el cual es muy silencioso y potente. Voy a estar monitoreando las temperaturas con el “iStatPro” para ver que no suban mucho, pero creo que por el momento están bien.
Mas adelante voy a jugar con la velocidad del procesador y memoria, pues pueden modificarse fácilmente. Primero pienso terminar de optimizar e instalar aplicaciones, y después procederé a hacer una copia de respaldo, para tener a donde regresar en caso de pérdida.
Actualización Enero 12:
Ayer recibí el adaptador SATA. inmediatamente lo instale en el DVD (es muy pequeño!) y lo conecte a la computadora. Nada. El DVD no abre cuando presiono el botón frontal, no da muestras de vida, aunque el LCD del adaptador esta encendido. tendré que buscar otra forma de probar el DVD, o incluso con otra unidad.
Actualizacion: completo fracaso. La unidad de DVD no responde. saque otra de la PC anterior, la conecte y tampoco la reconoce. voy a tener que comprar un DVD SATA especifico, pero no hay prisa, no lo uso.
Software: aunque al final todo funciona bien en OSX, ha sido un camino accidentado. Puedo decir que la primera instalación fue

todo un éxito, pero después al ajustar el sistema he tenido bastantes “Kernel Panics” al arrancar. Dos cosas muy importantes he aprendido de esto: para evitar dolores de cabeza, hay que respaldar el folder o carpeta de “Extras” que reside en el disco de arranque. Ahí están guardadas muchas de las preferencias y archivos que permiten arrancar, y a veces es útil restaurarlas, cuando todo lo demás falla.
En un par de ocasiones tuve que reinstalar el sistema, pensando que perdería todas mis aplicaciones y mejoras hechas al sistema, pero no fue así. Después de reinstalar, todo funcionaba como antes, por lo que las reinstalaciones subsecuentes las hice sin miedo. La única vez que no recuperó después de la instalación saque el disco duro, lo conecte como externo a mi Macbook y reemplace la carpeta de “Extras”. Con el ventilador del CPU que venia de fábrica la temperatura del mismo fluctuaba entre los 55-65 grados centigrados. como planeaba acelerar el sistema (overclock) compre un “enfriador” (heatsink) mas grande, con un par de ventiladores, que me costó $30. Despues de instalarlo la temperatura del CPU bajo a 25 grados (!!) una gran mejora. Procedí a acelerar el sistema, básicamente se cambian algunos números en el BIOS, después de leer la gente opina que es estable alrededor de los 45 Ghz. Opté por mantenerlo a 43, y acelerar la memoria de 1300 a 1600. El sistema esta estable y Geekbench me subió de 9500 a 12400!
el siguiente problema era el ruido. al tener mas ventiladores la Mac sonaba como un jet. encontré una liga que habla de como cambiar el voltaje de 12 a 5 volts y disminuir las revoluciones de los mismos. Modifiqué un cable que alimenta a todos los ventiladores internos, y ahora es mucho mas silenciosa. con todo y el overclocking y la modificación de ventilación la temperatura oscila entre los 30 y 35 grados, bastante aceptable.
Actualización Enero 20:
 Después de mucha sangre y sudor (sin lágrimas) la “Frankenmac” es todo un éxito. La parte de instalación del sistema resultó mas complicada de lo que esperaba, tuve que volver a instalar por última vez ambos sistemas, pues perdí el audio y después de una semana de cambios en drivers, kexts, BIOS y CMOS, encontré que el cable conectado al audio interno (que se conecta con el panel frontal) estaba causando que no hubiera sonido. Al desconectarlo todo funcionó de maravilla.
Qué he aprendido: El OSX Lion es un sistema muy resistente, la configuración tiene que hacerse con cuidando hasta el ultimo detalle. Hay que tener mucha calma, sangre fría y no desesperarse cuando sale un “kernel panic”.
El armar tu propia máquina te da una visión mas directa de los componentes, opciones y configuración de la misma, la capacidad de aumentar sus capacidades de forma fácil (vía “overclock” o componentes mas rápidos) que una Mac original no permite. En este momento puedo añadir un nuevo CPU (i7) tarjeta de vídeo o RAM sin problemas, aumentar los discos duros y mantener la computadora corriendo a una temperatura aceptable.
Compré un ventilador super silencioso (10 decibelios) y lo instalé en la bahía de discos. Pienso reemplazar los ventiladores originales traseros que son un poco ruidosos. He instalado ventiladores silenciosos en la bahía de discos, al frente de la tarjeta madre, en la parte trasera y en la fuente de poder. Ahora mi “FrankenMac” es bastante silenciosa, casi como escuchar a un solo ventilador. Estoy muy orgulloso del resultado, y comparando precios, hasta una MacPro usada hubiese costado de cuatro a cinco veces lo que me costó esta.

Lately I’ve been pondering the idea of changing my PC. Although most Macs home we still need to have Windows machines, mainly for work, and especially for running applications that only exist for this operating system.
I have long been a “tower” Dell with a Pentium 4, quite dated, with a pair of internal hard drive running Windows XP and 7 respectively.
Over the years it has become more and more slowly, but rarely use it and I have few programs installed, I thought that it will be time to replace it.
After the success I had created the Hackintosh laptop, I decided to make me a “monster” that has the capacity of a G5, a fraction of the cost and ability to run other operating systems. With all that I have examined and read, I decided to put it together bit by bit (no hurry) and buying the pieces when I have money or find good deals.
The goal is to build an Intel i7 Intel i5 computer in the “box” of a G5, video card capable of supporting two monitors – now almost all do – a couple of hard drives (one for OS) and DVD , though the latter is hardly ever used.
My goal is to buy a used G5, preferably broken down, and clean, prepare and adapt it to my liking. The main thing is I want to preserve as much as the appearance of the box, front and rear ports to the extent possible. This means adapting the inputs of the motherboard to the case. In some places the card fit by cutting a hole, but I want to keep the whole box, so I’ll have to adapt the connectors with cables, a little complicated but more aesthetic.
Another problem I face is the power, I use the same as the G5, but from what I read is to use a commercial PC.
Eventually I hope to finish with a “FrankenMac” powerful, 16GB of memory, a pair of hard drives (SSD partitioned into two operating systems, and TB for applications and data) and all kinds of connectors: USB 3.0 to Firewire from but I still think that both will have these connections last several years if I have not used.
The most important thing is to keep costs down. If a last generation G5 equivalent costs about $ 2,500.00, the cost of my “FrankenMac” must be less than $ 800.00.
Estimated Cost of components:
|
|
|
Obviously the more expensive the CPU at any given time I can turn down the i5 and save $ 100. The price of SSD is based on an offer, but with the advent of SATA 6G III and whenever I see most of those prices. Prices are based on Amazon, but in places like NewEgg or Fry’s you can find discounts, and if not looking at sites like Slickdeals and FatWallet.
A good guide to build a Hackintosh is on LifeHacker, and I also like to multi-boot, there is another guide from the same site.
Well, that I’m at the moment, I hope to win an auction of G5 soon, we must be careful because many are in very bad shape, battered and bent, or asking too much for an outdated computer and slow processor.
Update December 29:
The computer I bought on eBay arrived 3 days ago, I took to empty:
The first thing I did was replace the power supply with new, original drawing, cleaning and adjusting the space
the new fits perfectly, and I hope that the two fans are enough…
The next step is the motherboard (Motherboard) and I want to keep the back intact, I plan to do some “surgery”:
Next step: replace the USB ports, audio and ethernet ones that work, really wireless, firewire, and others do not use …
The ethernet port replaced it with a wall jack, then cutting it to edit it to have the same height and width as the original, actually cut and paste the frontalpara that looked identical.
USB ports to use a cable bought at CompUSA internal quad, which I cut to mold and to enter into the right place:
For audio, it was only a matter of soldering wires directly (could have done the same for others?)
After hard work, all set! Installed in the MacPro.
Accommodating the components to assemble “the beast”.
Be tested as the motherboard inside the case.
Another problem is the start button, as having no basis or conventional computer box, the cable with the power button is not included. The problem was solved by placing a screwdriver between the connector for a second.
The test was successful, the system boots, I made some adjustments to the BIOS, follow the guide to create the hackintosh of lifehacker.
I proceeded to create the usb drive with unibeast and Lion. After hours of frustration trying to solve an installation problem “waiting for the device to mount.” After much research, changing cables, disks and internet searching, I read that someone had problems with certain brands of thumb drives, so I changed the drive by Kingston and Sandisk ‘voliá’ installed with no problem.
A few minutes later saw first Lion in my “monster”!
Update December 31:
Everything works perfectly, I had a little problem with the network, but Multibeast “was responsible for adding the” driver “(or Kext) correct. Audio, video, monitor, everything works and is recognized. The system tells me the correct numbers.
Well, after that everything works is not only begun to assemble and put everything in place. To accommodate the motherboard I bought a strip of aluminum and made holes that match the original screws MacPro, then placed on the aluminum base screws that hold the new card. Once this is done, is working on special cables to connect the fans. I will adapt to make them look as much like the originals. The hardest part will be the cable for the power button, because there are not many electronic supply store and mail order involves waiting several days. I have to adapt or find connectors between my cable boxes.
Update January 8:
I have finished the important thing, I just need to install the DVD that came from factory: the motherboard only accepts SATA and my DVD is ATA, so I had to make the decision to buy a new SATA DVD, which I hardly use, or get an adapter. The new DVDs are priced from $ 20 to $ 50 and $ 19 adapter, which I found it expensive. after searching a while, I found on eBay adapters SATA -> ATA from $ 2.50! I bought one for 4.50 with shipping included.
All this time I was working on what it cost me more than all the conversion work: the front panel cable.
The custom cable has a connector for front panel, so you have to cut the cable to change. On the Internet you can find some versions of the configuration and how, you just have to find “G5 front panel cable.” There are also people on the forums that sell ready-made cables, but the price ranges between $ 40 and $ 50. These cables are very well done, but are intended to include Firewire motherboards, which mine does not have, and really does not bother me as long I do not use the interface.
With this in mind, I decided to make my own cable. after much effort, I got two internal USB cables (one for USB and one for audio, are equal) and two of three and two connectors for the power button and LED.
Based on internet diagrams and manuals for my motherboard made my own day
program for the cable. After analyzing a few times to avoid mistakes early on a Saturday I started the task. After hours of welding, gluing and test meter connections, the cable was ready.
When I saw the front panel LED lit by pressing the power button, I was very happy. my cable was a success.
Now we just need to wait for SATA adapter to install the DVD, and you’re ready. I decided not to activate more than an original fan, as they are quite noisy, which surprises me. Instead I installed the big fan that came with the power supply, which is very quiet and powerful. I will be monitoring the temperature with “iStatPro” to see that do not rise much, but I think at the moment are good.
Later I will play with the processor speed and memory, it can be easily modified. First I finished optimize and install applications, and then proceed to make a backup, to have to come back in case of loss.
Update January 12:
Yesterday I received the adapter SATA. immediately install it on the DVD (very small!) and connects to the computer. Nothing. The DVD does not open when I press the front button, no signs of life, although the adapter is lit LCD. I have to find another way to test the DVD, or even with another unit.
Update: complete failure. The DVD drive is not responding. remove one from the old PC, connect it and not recognize it. I have to buy a specific SATA DVD, but there is no hurry, do not use.
Software: but in the end everything works fine on OSX, has been a rough road. I can say that the first installation was
a success, but after adjusting the system I’ve had enough “Kernel Panics” when booting. Two very important things I learned from this: to avoid headaches, we must support the folder or folder “Extras” that resides on the boot disk. Here are kept many of the preferences and files that support booting, sometimes it is useful to restore them, when all else fails.
In a couple of occasions I had to reinstall the system, thinking he would lose all my applications and improvements made to the system but did not. After reinstalling, everything worked as before, so I made the subsequent reinstatement without fear. The only time I did not recover after installation remove the hard drive, connect it as external to my Macbook and replace the folder “Extras”. With the CPU fan that came from the same factory the temperature fluctuated between 55-65 degrees Celsius. speed up the system as planned (overclock) buy a “cooler” (heatsink) larger, with a couple of fans, which cost me $ 30. After installing the CPU temperature under 25 degrees (!) A big improvement. I proceeded to speed up the system basically changed some numbers in the BIOS, after reading people say that it is stable around 45 GHz. I chose to keep it to 43 and the memory speed from 1300 to 1600. The system is stable and Geekbench went from 9500 to 12400!
The next problem was the noise. more fans by having the Mac sounded like a jet. I found a link that talks about how to change the voltage from 12 to 5 volts and reduce the speed of them. I modified a cable that feeds all the internal fans, and is now much quieter. complete with the overclocking and temperature change in ventilation between 30 and 35 degrees, quite acceptable.
Update January 20:
After much blood and sweat (no tears) the “Frankenmac” is a success. The installation part of the system was more complicated than I expected, I had to reinstall last two systems, audio and lost it after a week of changes in drivers, kexts, BIOS and CMOS, I found that the cable connected the internal audio (which connects with the front panel) was not causing any sound. When disconnecting everything worked great.
What I learned: The Lion OSX is a very tough, the configuration has to be done down to the last detail. It should be very calm, composure and not despair when you leave a “kernel panic”.
The build your own machine gives you a more direct view of the components and configuration options of the same, the ability to increase their capabilities in an easy (via “overclock” or components faster) than an original Mac does not allow. At this point I can add a new CPU (i7) video card or RAM without problems, increase the hard drives and keep your computer running at an acceptable temperature.
I bought a super silent fan (10 dB) and installed it on the disk bay. I replace the original rear fans are a bit noisy.
3 Comments on “Segunda Hackintosh: proyecto "FrankenMac"”
Leave a Reply
You must be logged in to post a comment.
Buen aporte,yo he optado por cortar la parte trasera y la parte de los discos duros,mi placa base es bastante mas grande es una asus z68-v pro a ver si consigo una caja vieja tirada por mi barrio un saludo.
Gracias por el comentario Jose Luis, yo preferí mantener la caja como original por estética y porque los cortes siempre dañan y hacen la caja menos resistentes. He visto algunas excepciones donde logran hacer que parezca original, y otras que le ponen una placa de aluminio cubriendo todo.
El espacio dentro de la G5 es bastante grande, habría que ver.
Saludos
Javo
Un blog mas que currado se agradece